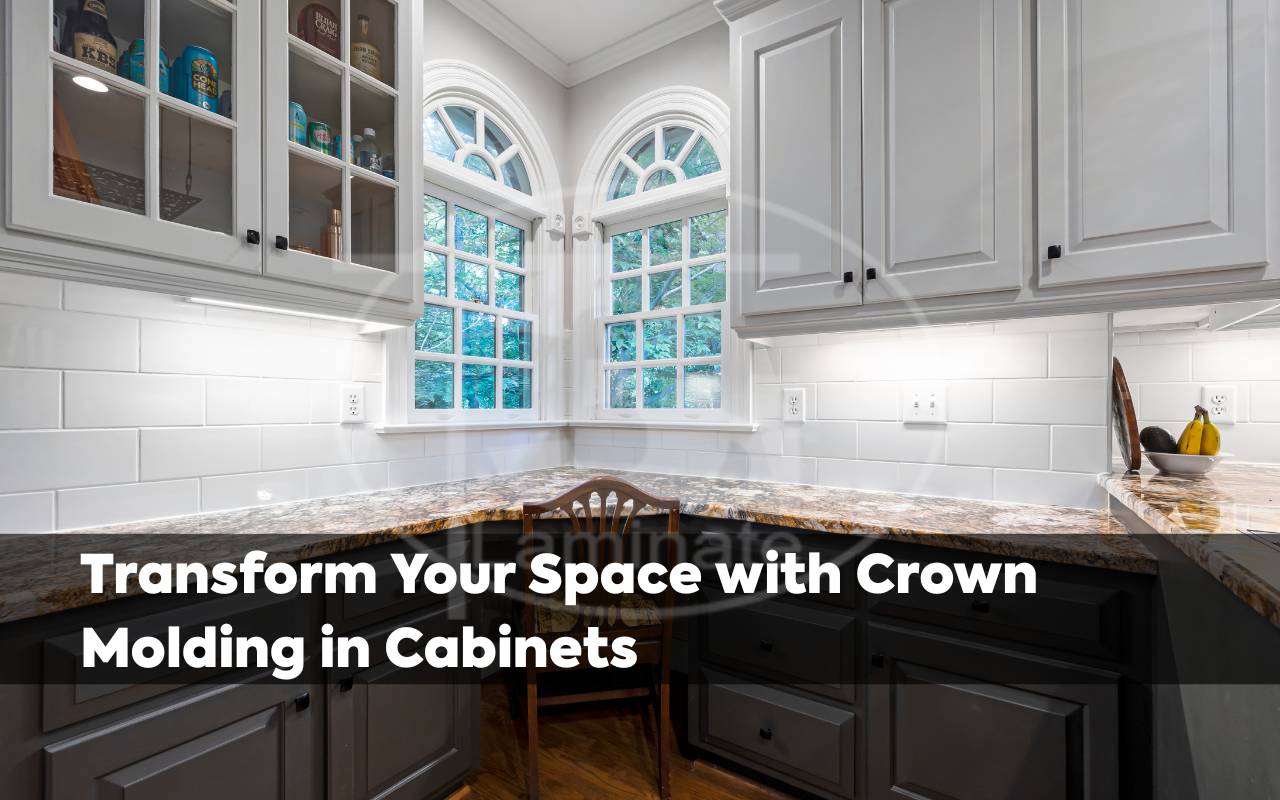
When was the last time you walked into a room and felt an immediate sense of elegance and completion? That feeling often comes from small details that add character and sophistication. Among these, crown molding has always been a trusted tool for designers. Today, it finds new life in cabinetry. Adding crown molding in cabinets is not just about style; it’s about turning ordinary into extraordinary. It elevates your kitchen or living space into something that feels custom-made and uniquely yours.
The top edge of your cabinets, often overlooked, holds potential to redefine the entire room. By integrating crown molding, you create a seamless transition between wall and ceiling. This draws the eye upward and adds grandeur. More than an aesthetic upgrade, it is a way to express personal style. In this article, we’ll explore how crown molding can deliver a tailored look. With the right approach, your space can reflect attention to detail and true design vision.
Understanding the Impact of Crown Molding in Cabinets
Crown molding in cabinets serves both an aesthetic and functional role. Aesthetically, it frames cabinetry much like a picture frame around art. It bridges the gap between cabinet top and ceiling. This creates visual continuity and makes the room feel more cohesive. When light hits molding surfaces, shadows enhance depth and detail. The effect increases architectural interest across the room.
Functionally, crown molding conceals irregularities where cabinet meets ceiling. It hides gaps or uneven drywall edges. Choosing a profile with undercut design masks minor imperfections. This elevates cabinetry quality without renovation. Whether your cabinets are stock or custom-built, molding offers a high-end look. Beyond appearance, it also evokes tradition and craftsmanship. It reminds us of historical design in luxury homes. Adding it boosts resale value and transforms storage into focal points.
Choosing the Right Crown Molding Style for Your Cabinets
Choosing the correct crown molding style is essential for harmony in design. Options range from simple straight-edge to elaborate multi-tiered profiles. Modern kitchens benefit from sleek, unadorned molding. Traditional rooms may favor intricate carvings echoing classic motifs.
- Measure scale and proportion carefully.
- Avoid bulky molding on small cabinets.
- Select delicate profiles to balance larger cabinets.
Material also influences outcome. MDF offers smooth paint-ready surfaces. Wood provides natural grain and can be stained. PVC and polyurethane resist moisture, ideal for bathrooms. Ultimately, your choice should align with cabinetry color, finishes, and hardware.
Measuring and Sourcing Materials for Crown Molding Installation
Accurate measurements form the foundation of successful molding installation. Measure each cabinet run, accounting for corners. Standard moldings sit at a 45-degree spring angle. Adjust if wall and ceiling angles vary. Always measure twice to avoid mistakes.
Calculate total footage and add 10 percent extra for waste. Visit supply centers for options in your chosen material. MDF and PVC often come pre-primed. Hardwood options require straight-grain boards with minimal knots. Order sample lengths to ensure compatibility. Confirm molding complements trim and cabinet design.
Preparing Your Cabinets for Crown Molding Attachment
Preparation ensures a professional-looking result. Clear the workspace, remove doors and drawers. Clean top surfaces with mild detergent for proper adhesion. If cabinets have existing trim, remove it for flat mounting.
- Mark stud positions with a stud finder.
- Install blocking if studs don’t align.
- Sand top surfaces to improve adhesion.
Fill any nail holes with wood filler. Let them dry before installation continues.
Cutting and Installing Crown Molding on Cabinets
Accurate cutting ensures tight joints. Set miter saw to 45 degrees for corners. Label each piece to avoid confusion. Dry-fit before applying adhesive. Adjust angles for better alignment. Coping techniques help with detailed profiles.
Once satisfied, apply adhesive and press molding onto cabinet edge. Secure with finish nails spaced evenly. Fill nail holes with caulk or filler. Sand lightly before painting or staining. Each step ensures molding integrates seamlessly.
Securing and Finishing Crown Molding for a Polished Look
Securing crown molding in cabinets requires nails and adhesive. Drive nails into studs or cabinet frames. Use construction adhesive for extra support. This combination prevents shifting over time. Seasonal changes will not weaken it.
Fill holes with lightweight filler, sand smooth, and apply caulk at joints. Wipe excess caulk before it sets. Light sanding prepares molding for primer or paint. The result is seamless and professional.
Tips for Painting or Staining Crown Molding to Match Your Cabinets
Painting or staining crown molding creates unity with cabinets. For painting, start with high-quality primer. Sand lightly after primer dries. Apply two coats of cabinet paint. Use foam rollers for smooth finishes.
For staining, match the stain to cabinet wood. Apply with lint-free cloth, wipe excess, and seal with topcoat. Sand lightly between coats for adhesion. With proper finishing, molding blends beautifully with cabinetry.
Maintaining and Cleaning Crown Molding in Cabinets
Regular maintenance keeps crown molding in cabinets looking elegant. Dust gathers easily on molding surfaces. Use microfiber cloths or vacuum attachments. For deeper cleaning, use mild detergent and warm water.
Repair cracks in caulk promptly. Touch up with filler and repaint. Wax repair sticks help with dents. Consistent care preserves crown molding beauty. Cabinets remain attractive and functional for years.
Showcasing Your Transformed Space: Before and After Crown Molding
Before molding, cabinets appear boxy and cut off. After installation, the difference is dramatic. The transition between cabinet and ceiling becomes refined. Shadow play and symmetry anchor the design. Photos highlight these subtle changes.
- Stage the space with décor.
- Add under-cabinet lighting for emphasis.
- Share before-and-after photos to inspire others.
For further inspiration, explore our custom cabinets in Texas to see more ways to enhance your space.
FAQs
What is crown molding in cabinets? It is decorative trim installed on top of cabinets for elegance and continuity.
Does crown molding only work in kitchens? No, it can enhance bathrooms, living rooms, and other spaces with cabinetry.
How do I choose the right profile? Match the style with cabinet size, room design, and overall décor theme.
Can I install crown molding myself? Yes, with proper tools and preparation, DIY installation is possible.
How do I maintain it? Regular dusting, touch-up caulking, and prompt repairs will keep molding in perfect shape.
Elevate Your Space with Crown Molding in Cabinets
Crown molding in cabinets elevates both form and function. By selecting the right profile, measuring carefully, and following installation best practices, you achieve a professional result. Regular maintenance preserves its beauty and functionality. To start transforming your cabinetry, reach out through our contact page. Embrace this timeless design element today and enjoy a custom look that lasts.